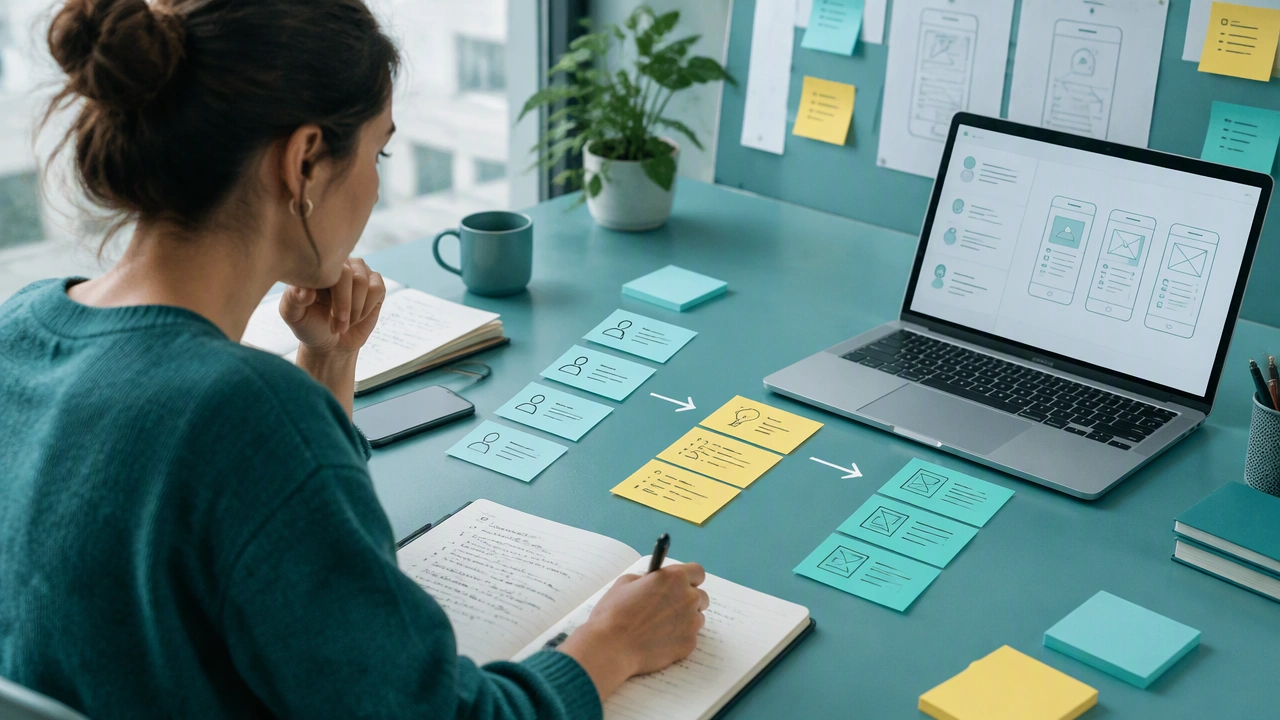
Turning Interview Notes into Design Actions: A Lightweight Synthesis Workflow for Interface Design

Interface design that people can actually use depends less on visual polish and more on how clearly you understand what people are trying to accomplish. After conducting user interviews, most teams end up with pages of raw notes, half-formed observations, and memorable quotes, but no clear path from that material to product decisions. Without a structured way to make sense of it, valuable insights stay buried and design choices revert to assumptions. A lightweight synthesis workflow gives you a repeatable way to move from scattered notes to themes, evidence, and prioritized next steps, even when time and resources are limited.
Many teams hesitate to synthesize because they imagine it requires a formal research lab, specialized software, or days of affinity mapping. In practice, learning how to synthesize user interview notes is about creating a disciplined habit of sorting, connecting, and questioning what you heard. The goal is not to produce a perfect report, but to make your understanding visible so the whole team can discuss it, challenge it, and act on it.
Why a Lightweight Workflow Matters
Heavyweight research processes have their place, but for most product teams working on interface design, speed and clarity matter more than exhaustive documentation. A lightweight approach keeps you close to the raw data, prevents premature conclusions, and helps you spot patterns early enough to influence the next design iteration. It also makes synthesis collaborative. When anyone on the team can participate, you get diverse perspectives and stronger buy-in for the resulting decisions.
Think of synthesis as sense-making, not just summarizing. You are not looking for what one person said, but for what several people experienced, where their experiences diverged, and what that divergence reveals about unmet needs or confusing interactions.
Step 1: Clean and Chunk Your Raw Notes
Start within a day of the interviews while memories are still fresh. Take your raw notes and break them into small, self-contained observations. Each chunk should capture one idea, behavior, or quote in the participant’s own words where possible.
- Keep it atomic: One observation per sticky note, card, or row. For example, instead of “User was confused by navigation and pricing,” split it into “Hesitated for 20 seconds on the main navigation” and “Asked if pricing was per month or per user.”
- Preserve context: Add a participant code, task, and timestamp. This helps you trace patterns later without losing the source.
- Separate observation from interpretation: Write what happened before you write what you think it means. “Clicked back three times” is an observation; “Navigation is broken” is an interpretation.
This chunking step usually takes 30 to 45 minutes for five interviews and prevents the common problem of working with vague, blended notes that are hard to group or compare.
Step 2: Cluster Observations into Emerging Themes
Once your notes are chunked, look for natural groupings. You can do this on a whiteboard, with digital sticky notes, or in a simple spreadsheet. Read through the observations and move similar ones together without forcing them into pre-existing categories.
Let theme names emerge from the data. Instead of starting with “usability issues,” you might notice clusters like “people create workarounds to track progress” or “uncertainty about what happens after submitting a form.” Good theme names describe a behavior or need, not just a topic.
- Aim for 4 to 7 themes: Fewer themes force you to be too generic, more themes make prioritization difficult.
- Watch for outliers: A single surprising observation can be as important as a frequent one if it reveals a critical edge case or risk.
- Invite a second perspective: Have one other person cluster independently and then compare. Differences often highlight assumptions worth discussing.
How to Name Themes Clearly
A strong theme is specific, human-centered, and actionable. Compare “Onboarding problems” with “New users skip setup steps because they do not see immediate value.” The second version points directly to an interface design opportunity and suggests what to test next.
Step 3: Connect Themes to Evidence
Themes are only useful if you can show why you believe them. For each theme, collect the supporting evidence in one place. This creates traceability and helps stakeholders trust your conclusions.
- Include direct quotes: Choose short, vivid quotes that illustrate the experience, not just your summary of it.
- Note frequency and variation: Record how many participants mentioned it and whether anyone contradicted it. For example, “Mentioned by 4 of 6 participants; 1 experienced user did not encounter this because they used a keyboard shortcut.”
- Link to behaviors: Pair what people said with what they did. A participant saying “This is easy” while making three errors tells a different story than the words alone.
This evidence table becomes your anchor during design discussions. When someone asks why you are proposing a change, you can point to the pattern rather than relying on memory or opinion.
Step 4: Translate Themes into Design Opportunities
Synthesis should end with possibilities, not just problems. For each theme, reframe it as an opportunity statement using the format “How might we help [user type] to [achieve goal] when [context]?” This keeps the focus on user needs and opens space for multiple solutions.
For example, a theme like “People lose track of where they are in a multi-step flow” becomes “How might we help first-time applicants keep track of progress and know what is left to complete?” From there, generate two or three lightweight interface concepts for each opportunity. These do not need to be polished designs; sketches, text descriptions, or modifications to existing screens are enough to make the idea concrete and testable.
Step 5: Prioritize Next Steps with a Simple Matrix
Not every opportunity deserves immediate attention. Use a simple two-by-two matrix to prioritize based on user impact and implementation effort. Plot each opportunity according to how severely it affects the user experience and how feasible it is to address in the near term.
- High impact, low effort: Do first. These are often clarity fixes like labeling, feedback messages, or default states.
- High impact, high effort: Plan for the next cycle. These may require flow redesigns or new components.
- Low impact, low effort: Consider if time allows, but do not let them distract from critical issues.
- Low impact, high effort: Park for later or discard.
Review the matrix as a team and agree on one to three next steps with clear owners. A good next step is specific and verifiable, such as “Revise progress indicator and test with three new participants” rather than “Improve onboarding.”
Putting the Workflow into Practice
A small team interviewing six users about a dashboard might complete this entire workflow in an afternoon. They spend an hour chunking notes, an hour clustering and naming themes, 30 minutes building an evidence table, and 30 minutes framing opportunities and prioritizing. The output is not a long report but a one-page synthesis wall or document that shows themes, supporting quotes, opportunity statements, and the top three actions. That artifact is easy to share, easy to revisit, and directly informs the next design iteration.
The value of this lightweight synthesis workflow is that it makes your thinking transparent. It shows how you moved from raw conversations to reasoned decisions, which builds confidence among designers, developers, and stakeholders. Over time, repeating this practice improves your interview technique as well, because you learn which questions produce chunkable, evidence-rich observations and which lead to vague opinions.
When interface design is grounded in this kind of disciplined sense-making, products become easier to learn, more efficient to use, and more aligned with what people actually need. Start small, stay close to the data, and let the patterns guide your next move.